- Engineering
- Measuring systems
- Machine qualification
-
Components
-
Systems
-
Learn more
-
- Expertise
- About IBS

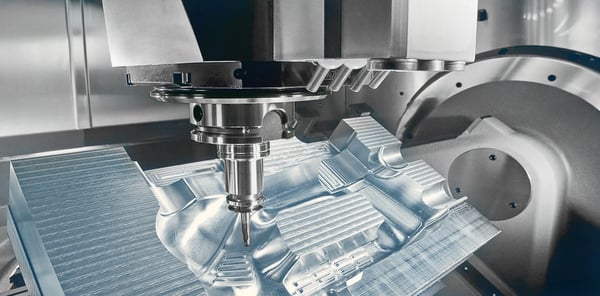
Spindle performance critically defines the quality standards achieved by machine tools. Manufacturing in the Industry 4.0 era means that faster and more intelligent metrology is required. The Integrated Spindle Inspector offers accuracy, speed and an intelligent measurement solution easily integrated into your spindle and your control systems. It is designed to determine critical spindle performance parameters and to provide an instant feedback to the machine, essential to guarantee product quality as demanded by the latest trends in the automotive and aviation industry.
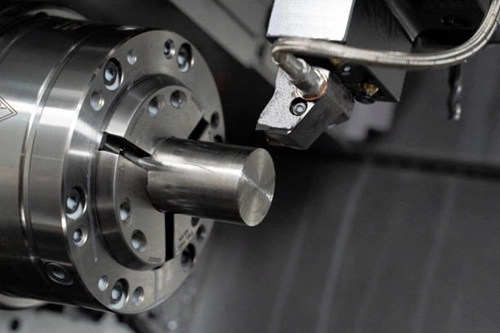
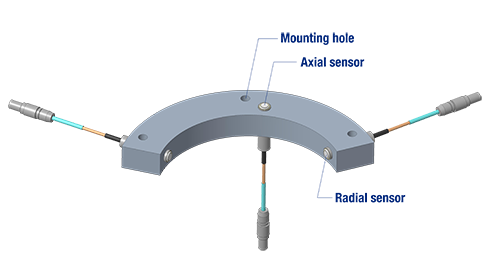
Spindles must turn true in the X, Y and Z directions to make good parts. Rotational or elongation errors in any of these directions can cause bad parts or expensive tool wear and breakage. Errors can be caused by, amongst others, tool misalignment e.g. by swarf, or bearing failure. The integrated sensors are distributed around the spindle, measuring against a rotating ring attached to the spindle. Axial and radial error motions are measured at 15kHz with up to 5 sensors and 65 nm resolution. The Integrated Spindle Inspector test offers high speed, real-time data on spindle performance. IBS has over 30 years experience in spindle performance measurement for advanced applications. Accuracy, speed and simple but intelligent solutions are our focus.
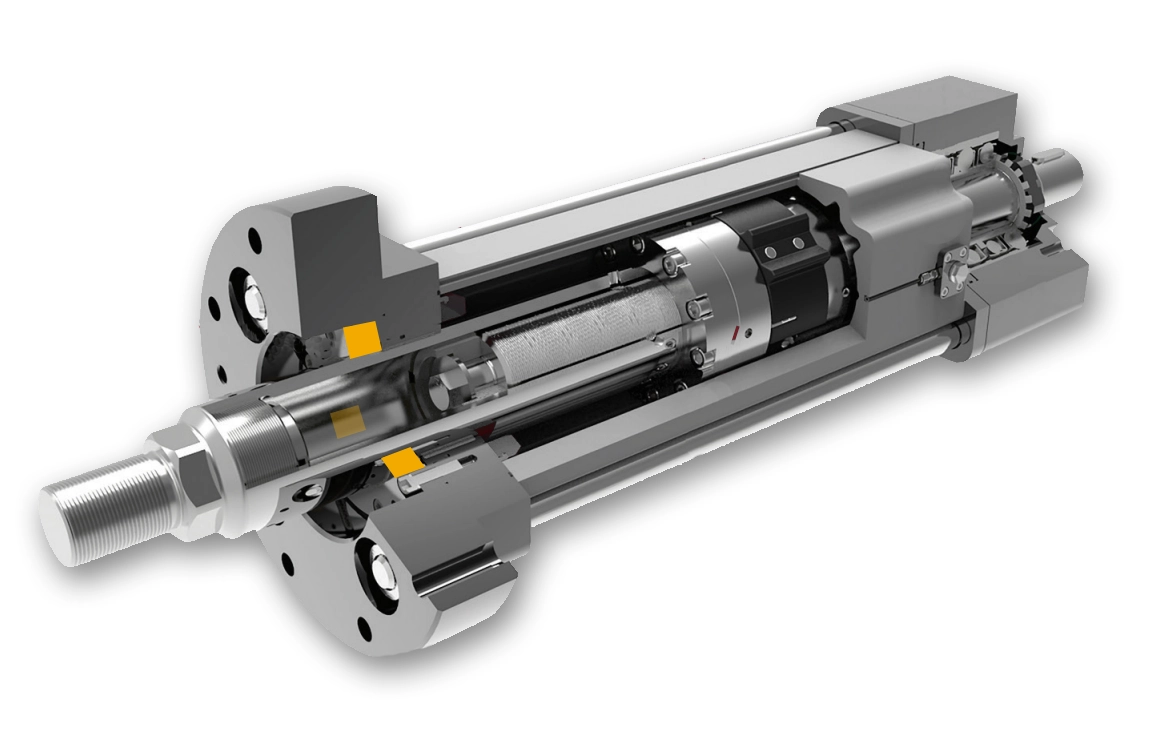
By integrating the spindle measurement data directly into a control system, the performance of the spindle can be monitored in real-time. This enables an immediate detection of any deviations or abnormalities. The inspection system can automatically adjust or compensate for any variations or inconsistencies in spindle performance. This automation reduces downtime and increases productivity by maintaining optimal spindle operation without manual intervention.
The custom probes are designed to have a minimum footprint to save space and have a 90º cable exit to fit in the available area. These eddy-current sensors are unaffected by contaminants like oil and machine coolant and will withstand pressures up to 5 bar and temperature up to 125°C. Sub-micron precision level means that even the smallest errors can be reliably detected. Like the probes, the custom three channel driver is designed to be as small as possible. Each channel has a digital EtherCat output, but can be configured with an analogue output as well.
Unique strengths of the Spindle Inspector:
